
Ive got a lot of travel blog posts coming up so I thought I would throw in a few tutorials before I head overseas on my USA/Canada road trip. So let me teach you How to Photograph waterfalls in a rainforest.
To begin with, a few weeks ago we headed down to Lamington National Park which borders NSW and QLD here in Australia. It is a massive rainforest with several different waterfalls along a few different walking tracks. Its a bit of drive down there – about 2 hours from Brisbane on quite a winding, single lane road. We had had a fair bit of rain for the week
prior to this and I thought for sure the falls would be flowing and hopefully all the dirt from the dry weather would be all washed down stream so that the falls had nice clean water rushing over them and I was right. YAY! The day we went was still rainy, windy and cold. Not the most pleasant weather but perfect for rainforest photography. Plus it meant the roads were quiet, so not stopping to let other traffic passed and not many people in the rainforest either.
Equipment
What you need to get good rainforest photos: Obviously your camera. A DSLR camera so that you can do a long exposure, a tripod, a Polarising Filter to cut the reflection on the leaves and rocks and a shutter release cable. Things that also come in handy are an umbrella, hiking gear, wet weather shoes as you will be most likely crossing streams of water, a helper to hold the umbrella over you while you are photographing and a cloth to wipe down your lens and camera and a camera bag to carry everything comfortably on your back.
Shooting the Waterfall
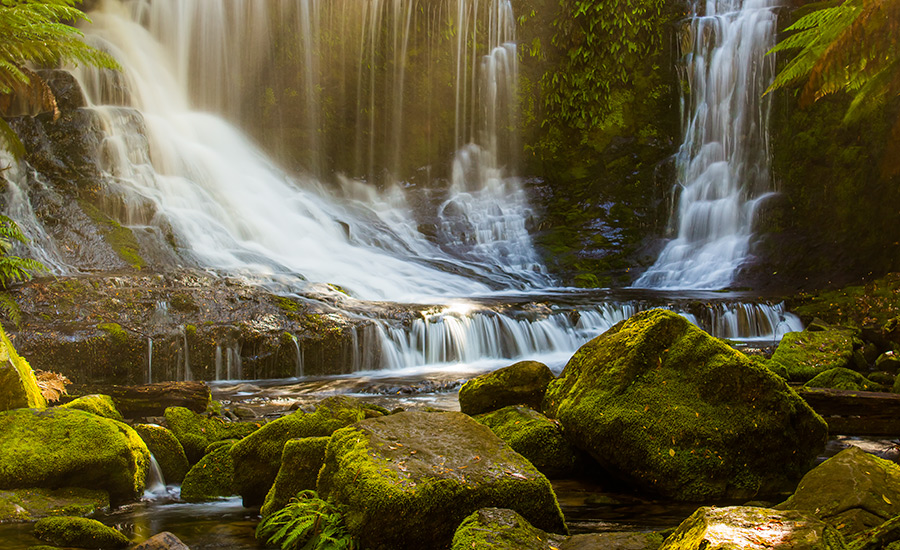
Once you have reached the waterfalls that you want to capture, look for the best composition of it. Try framing it with trees and rainforest on either side, and with some rocks or something in the foreground. Hopefully the day will be overcast which is perfect for getting an even exposure. Set up your camera on your tripod in a sturdy position, I usually shoot at about F8 or F11 for about 3 to 4 seconds to get nice fluffy soft water, or even up to F16 for about 8 seconds if the circular polariser is attached like the photo below:
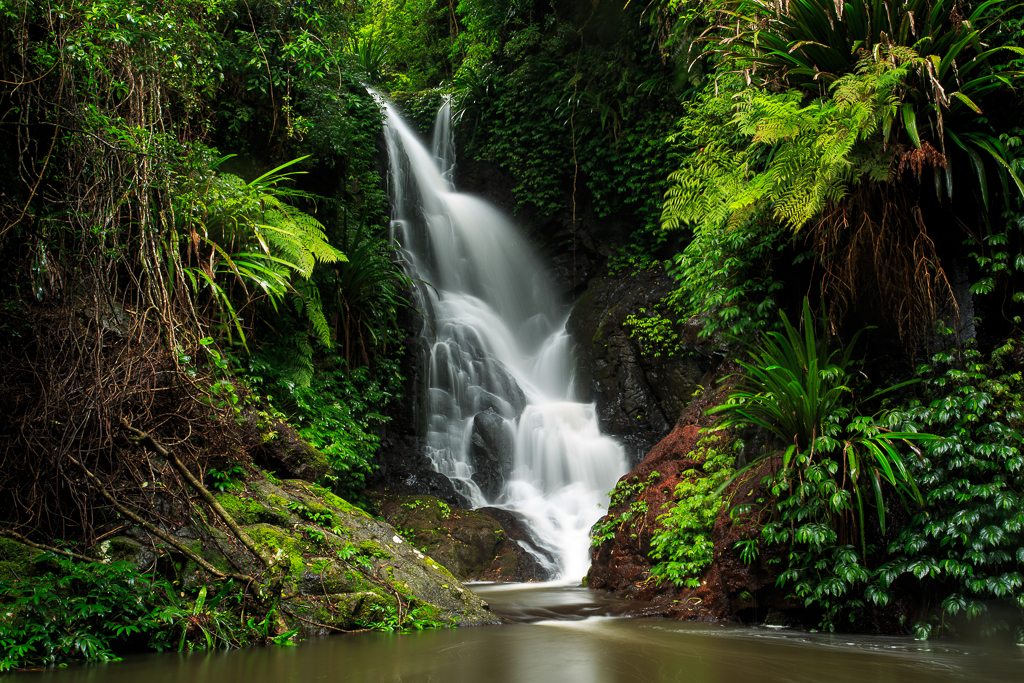
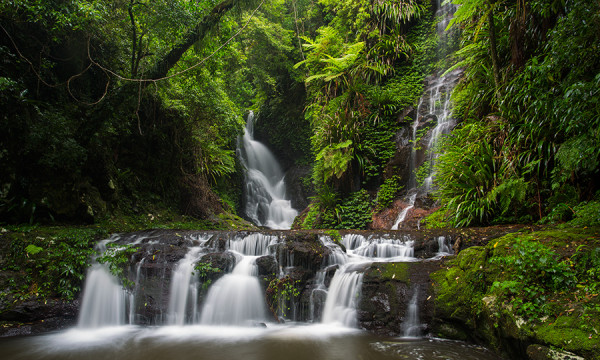
The beauty of using a circular polariser in a rainforest is that it brings out the beautiful greens that you see while cutting any reflections on the wet leaves and rocks. It also prolongs your exposure time. Make sure you use a shutter release so that you aren’t creating movement by pressing the shutter button on your camera. Then wait for the magic to happen. Make sure you take plenty of shots from different angles. The shot above was taken at Elabana Falls in the Lamington National Park. I can’t wait to go back again and explore all the other waterfalls in the area. Its such a beautiful part of Australia and Im so lucky to live only two hours away from it.
I hope you enjoyed this article. If you have any questions or think I need to add something to this then feel free to comment below. I would love to hear from you! 🙂


Thanks for the tips – I’ve always struggled with waterfalls – they are hard to capture!
They can be hard to capture Ella but with the right light and the right equipment it makes it a whole lot easier!