There are a few little tools that I never leave home without when I am venturing out to photograph a landscape scene whether it be sunrise, day time or sunset. They are always in my bag and always clean and ready to go. They can change an image from dull and boring to vibrant and colourful. What are they? Filters!
1. Circular Polariser
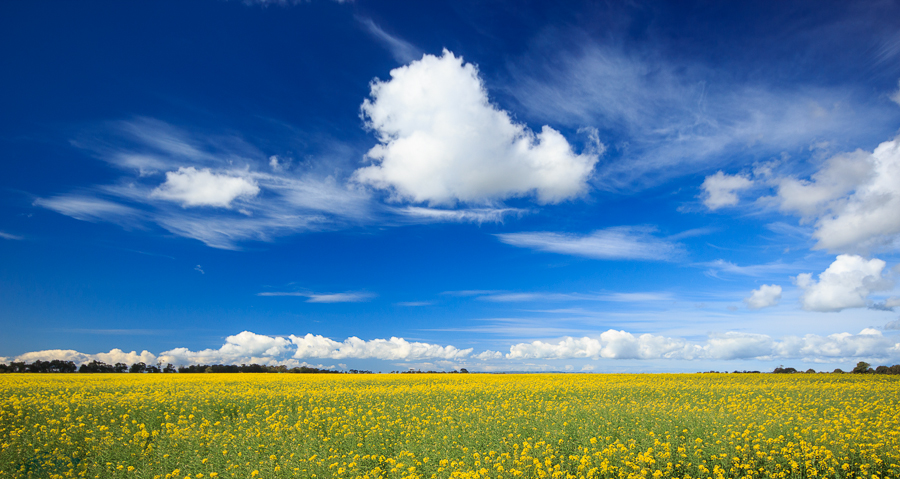
This little baby screws onto the front of your lens and is great for middle of the day shots to enhance a blue sky, make clouds pop and bring out the greens of grass and rainforests. They are also super handy when shooting waterfall scenes to block the harsh reflections that can bounce off wet rocks and wet leaves.
How to Use:
They can be kind of tricky to use and it all depends on where the sun is in the sky. For best results keep the sun at 90 degrees to you (so either on your left or right side), not behind you or in front of you. Looking through your viewfinder, turn the front section of the polariser until you see the sky turn a deep blue colour or you see the rocks become non reflective depending on your situation.
NB. Circular Polarisers don’t work so well with wide angle lenses. They can make one side the sky really deep blue with the other side a pale blue, so if you are wanting to get the best out of your circular polariser use it on a standard lens.
2. Neutral Density Filter
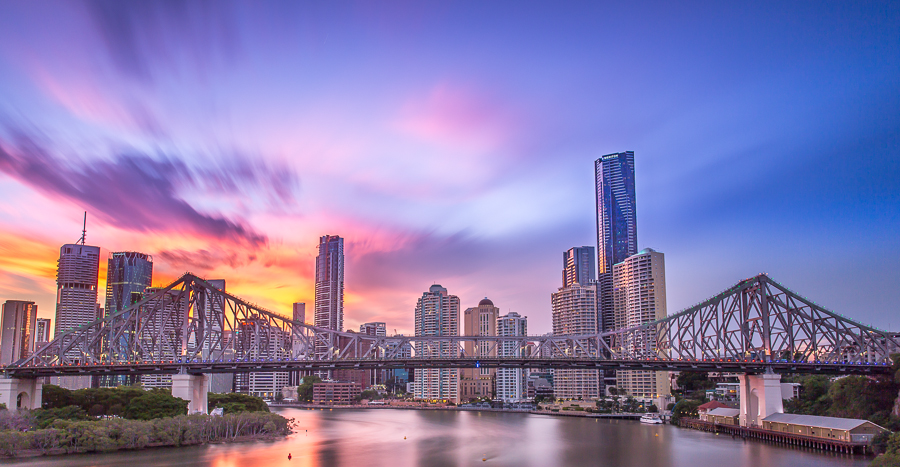
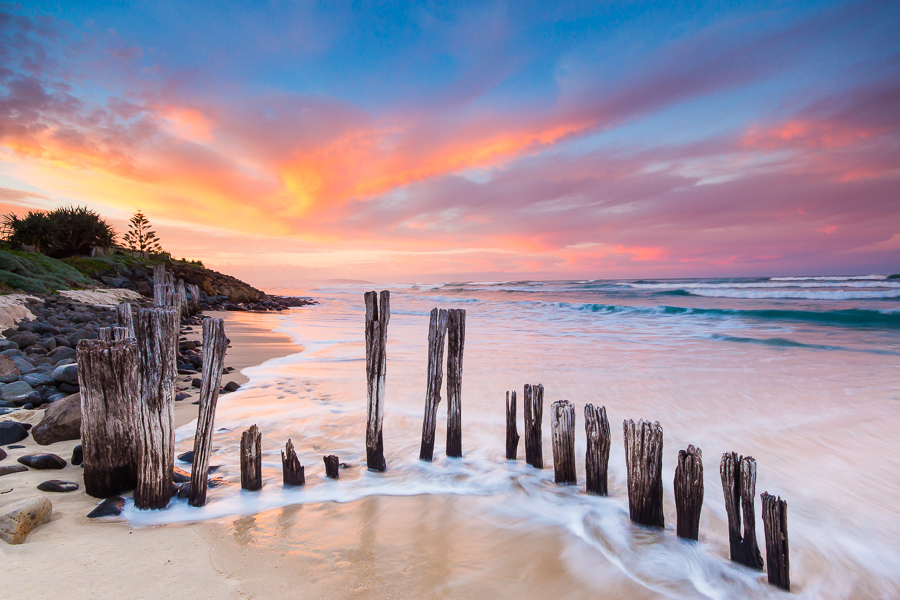
Neutral Density Filters reduce the amount of light coming into your camera. The reason that you would want to do this is to slow down your shutter speed causing a longer exposure. You would do this if you want to get great affects like silky smooth water if its a windy day by blurring the motion or when you are photographing a waterfall and want that smooth water effect. They are also used to give the sky some movement with the clouds. Neutral Density Filters don’t actually change colour in anyway. They are purely used to reduce light transmission.
How to Use:
You can get different strength ND filters and you can double up when using them for a stronger effect. You can generally use a 1, 2 or 3 stop ND Filter or if you want really long exposures, you can use a 9 or 10 stop filter. Generally they come in a rectangle shape with a holder and you connect the holder to the front of your lens and slide in the desired filter into the specified slot/s.
3. Graduated Filters
A graduated filter is needed at sunrise or sunset to darken down the brightness of the sky so that the foreground can be better exposed. Otherwise, you would have a blown out sky if you were metering (focusing) on the foreground or if you were metering (focusing) on the sky, the foreground would be almost black from being under exposed. You could achieve the same effect by doing two different exposures. One for the sky and one for the foreground and combining the two images in Photoshop but I believe the more work you do in camera the better result you get at the end plus I don’t like to spend a lot of time editing photos. I would rather be out shooting them! And Im not very proficient with Photoshop! 🙂
How to Use:
Grad Filters are just the same as ND Filters except half is grey and half is clear. You slide the clear end into the holder first so that they grey area is covering the sky. You can get Soft or Hard Grad Filters. The soft grad filter softly graduates from grey to clear while the Hard Grad Filter has a hard edge of grey to clear.
Hopefully this information will get you on your way to taking amazing landscape images yourself. If this information has been helpful or if you have any questions you would like me to answer, feel free to comment in the section below. I love getting feedback from you!