After talking about Aperture last week in my Basics of Photography: Aperture, its time to move onto to the second point of our exposure triangle – Shutterspeed. The other point of the exposure triangle being ISO which I will talk about next week. This Basics of Photography 3 part series is designed to get you out of the habit of using the “Auto” Mode and into the habit of using the “Manual” Mode. Once you learn the basics, you will be so much better equipped to take the type of awesome pictures that are just not possible with the Auto setting.
What is Shutter Speed?
Shutter speed is simply defined as “how long the shutter is open for”. Thats about it in a nutshell. Pretty simple. Another way to look at it is the length of time your cameras image sensor is looking at the scene that you are capturing. There are two type of images that involve shutter speed and it depends on what you are trying to capture as to how long your shutter speed should be so firstly:
Long Exposures
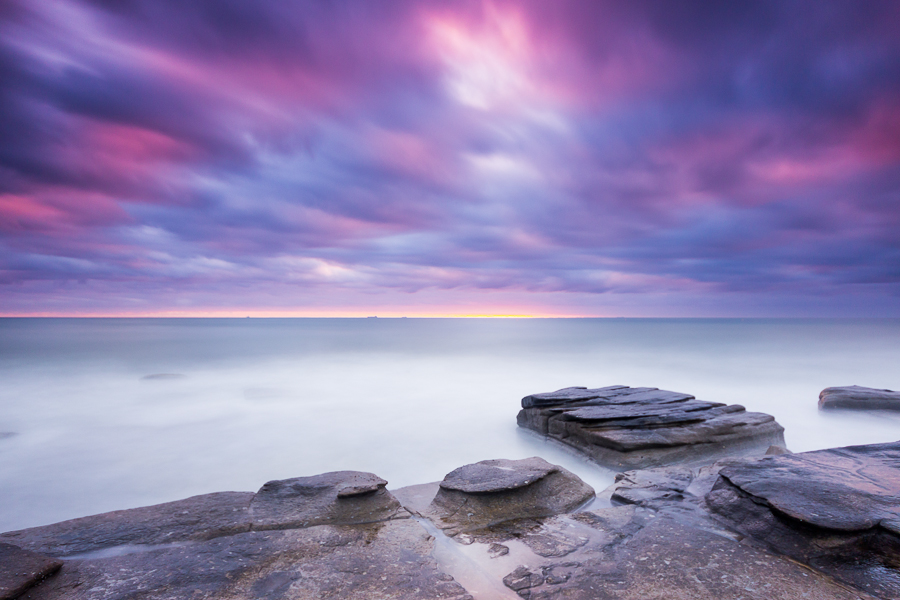
These are the types of photos that I love to take. They give you that silky smooth water if you’re doing a seascape or waterfall shoot. So to do a long exposure, you need to have a really long shutter speed. Anything from 30 seconds onwards. To do long exposures, you need a Dslr camera with the Bulb Setting which is the B setting somewhere around near where the M and Auto is on the dial of your camera. You will also need a tripod and a shutter release cable to avoid camera shake when you press the shutter button. Here is an example below:

You can see in the picture above that the ocean looks like a milk bath when in fact it was really windy and choppy that morning. Also the sky was thick with cloud and the long shutter speed shows the movement of the cloud as it was being blown across the sky.
Motion Freeze
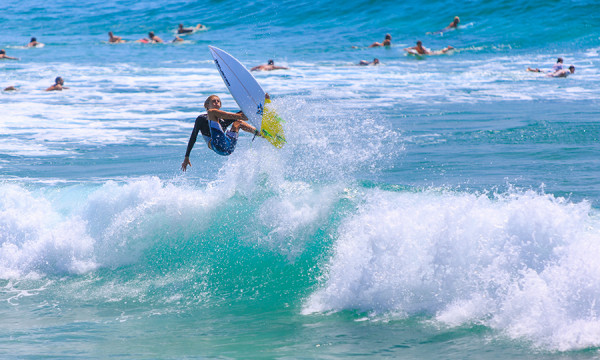
This is obviously where movement is frozen in time. In most cases of photography you will being using a shutter speed of at least 1/30th of a second or faster because anything slower than that is too difficult to capture while holding your camera still. Therefore a fast shutter speed is best. If you are trying to capture images of your kids then you will definitely need a fast shutter speed because they don’t stand still for long. HOT TIP: I actually use Apperture Priority Mode when I am trying to take photos of kids, that way the camera chooses the shutter speed for me. All I have to do is choose the aperture that I want and start clicking away. This is the ONLY time I take my camera off the Manual Mode. An example of motion freeze is below:

In the picture above I was trying to capture the massive waves crashing against the cliff which required a really fast shutter speed and you can see that by using 1/125th of a second it has captured all the detail of the seaspray. You can see the movement of the ocean has been frozen and the guy fishing on the rock is in focus. If you were to use a slow shutter speed here you have been a completely different scene.
So basically it comes down to the type of image that you want to capture. Do you have fast moving objects in your image that you want in focus? -Then choose a fast shutter speed. If you want motion to intentionally blur like in a landscape scene then choose a slow shutter speed.
Another thing to keep in mind is your aperture. If you are changing your shutter speed to a faster one, you have to remember that you won’t be letting as much light into the camera so you may have to compensate by choosing a bigger aperture. Your meter bar should alert you to this fact if you are using manual mode though because the needle won’t be on the zero or neutral exposure point any longer when you are looking through your viewfinder. It will most likely be on the underexposed side.
Did you find this Basics of Photography: Shutterspeed guide handy? If so let me know below. If you have any questions or have any other topic you would like me to cover then let me know in the comments section below. You know I love to hear from you! 🙂


2 thoughts on “Basics of Photography: Shutter speed”