
So we’ve all seen those horrid HDR photos. You know, the ones that make your eyes bleed. The contrast has been turned up 100% and everything looks all grungy and dirty. I will add some examples below! I never used to like HDR until I came across Trey Ratcliff’s site Stuck In Customs a while back and he makes HDR an amazing tool for capturing some scenes that would just look bland and flat otherwise.
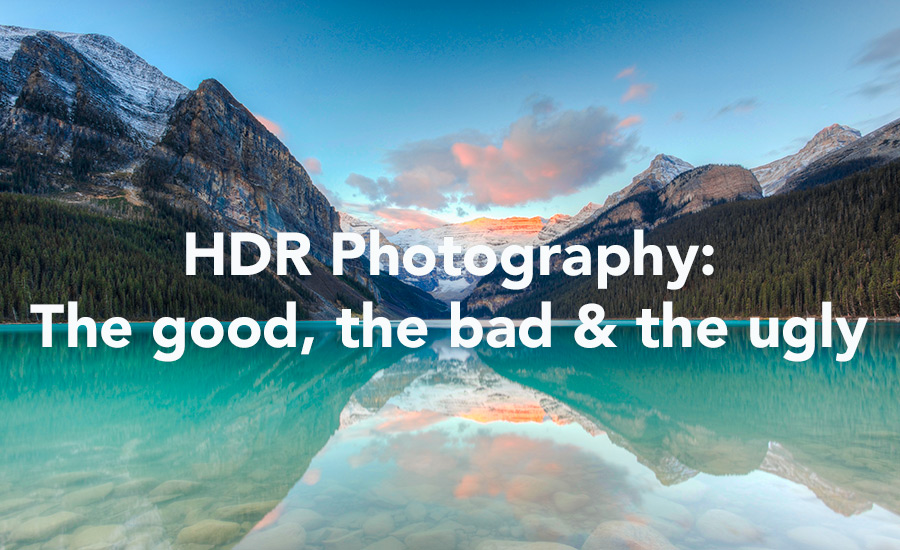
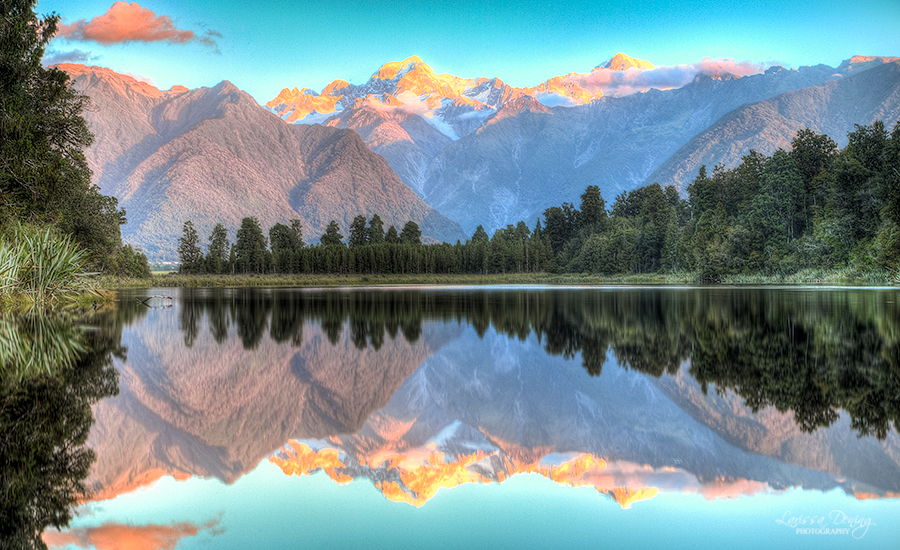
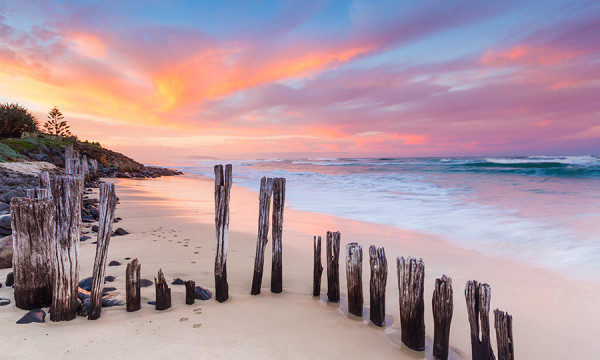
I have only ever done a handful of HDR shots but two of them are my absolute favourite photos that I have ever taken; the shot above and this one below. Did you realise these two were HDR’s?
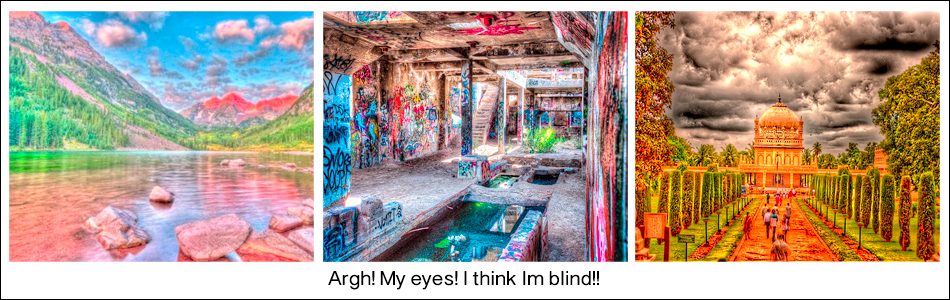
So lets take a look at what not to do!
Things to avoid
Im not going to name names, or websites but come on, who really thinks this looks good? It actually does hurt my eyes to look at it! 🙂
Saturation:
HDR processing programs like Photomatix or the Merge to HDR option in Photoshop can tend to overdo the saturation. Try to pick original images that aren’t too highly saturated to begin with. This will give a more natural look to the final image.
Contrast:
The contrast or Strenght (as its called in Photomatix) is one to be wary of. This is what can give your image that really outlandish HDR look so be gentle with your contrasting!
Sharpening:
Sharpen your image at the end to avoid exaggerated haloing and fringing around objects
When to Use it:
So when is a good time to use HDR I hear you say? When you have a scene in front of you that has a huge dynamic range – in other words lots of shadows and lots of brightness all in one frame. So from my two pictures above you can see they are both big mountains shots. So the mountains show up nearly black on my camera sensor compared to the over bright sky. Another time would be when there is something really dark in the frame that you want to see the detail of without compromising blowing out the rest of the scene.
The Originals:
You can see below the 3 original images that I blended together with Photomatix to create the Header picture of this blog post. The first one is supposedly perfectly exposed according to my camera, the next one is underexposed to capture the detail in the bright areas of the sky and the last one is over exposed to capture the detail in the shadows on the mountain range.

Once you have blended your original images in your HDR software, thats when you can play around with saturation, contrast, sharpening etc to bring the image back to life again without going overboard! I will upload a video of my work flow on this process soon!
What do you think about HDR photography? Have you used it before? Let me know in the comments section below!


Love this blog !! I have always wondered how to use HDR properly, as it has always turned out too bright when I winged it. Thank you for this post – I can’t wait to go or and practice my technique xx
Thanks Caitlin! Im so glad that that I could help you better understand HDR photography. I look forward to seeing your results!x
Great blog! Awesome photos also!
Thanks so much Andrew. Im glad you enjoyed it!
Good commemts the idea being to capture all the details.in a scene without going overboard.
I completely agree David. Nothing looks worse than a HDR gone too far! 🙂
Some awesome tips! Your HDR photos are amazing!
Thank you so much for the compliment Ella! I really appreciate it!
HDR is not something I have actually done, but I will try it sometime soon with that technique. There was something I was thinking of trying at my nearest waterfall, but I suddenly realise that if I take shots at different times of day I will have shafts of light coming from different directions, which probably won’t be any good, so I will try over exposed, neutral, and under exposed.
Hi Stephen, Ive never tried 3 different exposures at a waterfall and have never even thought about it to be honest. I usually just use my circular polariser to darken down the brightness. This could be an interesting concept. I think I might give it a try next time I’m at a waterfall and see what the results are. Let me know how you go Stephen! 🙂